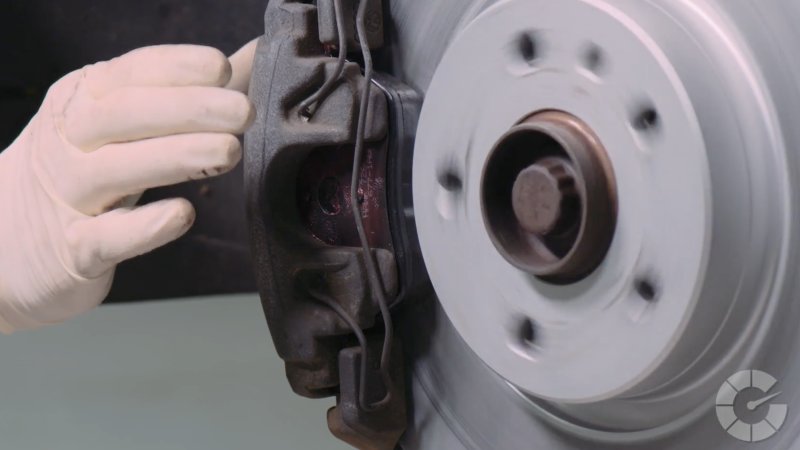
When your brakes are feeling spongy, making grinding sounds or your brake fluid levels are low, it’s time to consider changing your brake fluid. Periodically replacing your brake fluid is an essential part of safe, effective braking. Here is a helpful guide on how to bleed brake fluid so you can start your DIY brake fluid replacement project.

When to Bleed Your Brakes
Just like your brake pads, your brake fluid needs to be replaced periodically, depending on your driving habits, climate and vehicle. Depending on these factors and the type of fluid you’re using, expect to bleed and replace your brake fluid between 20,000 and 150,000 miles, or every five years.
Without proper bleeding and replacing your fluid, your fluid could lose some of its stopping power. Whether they feel spongy, unresponsive or slow to respond, don’t wait to bleed your brakes and enjoy a fully restored braking system.
Preparing Your Work Area
First, you need to be sure your vehicle and work space is ready. Find a flat, dry work area to install wheel chocks and secure your vehicle. Use stands and securely open your hood to gain access to all the essential components. Review how to replace brake pads and rotors to perform a full brake system maintenance project.
Bleeding Your Brakes
Bleeding your brakes requires you to uncap the master cylinder and remove all the worn-out brake fluid. Choose either a specialized vacuum pump or a turkey baster to bleed your brakes of nearly all, but not all, the fluid. You’ll then add new fluid to the master cylinder before bleeding each wheel.
Determine which order to bleed your vehicles. Consult your owner’s manual to determine the correct order of bleeding for each of your wheels. You’ll typically start with the furthest wheel from the master cylinder.
Bleeding each brake is similar to the master cylinder. Connect a vacuum pump to the bleeder valve, open the valve and pump out your old brake fluid. Be sure your master cylinder doesn’t bleed dry.
Adding New Fluid
Because the goal of bleeding your brakes is to not only remove all the old fluid but also any trapped air, you’ll need to be particularly careful when adding new fluid. After the old fluid is removed, begin to add new fluid and carefully watch the bleeder valve. Look for signs of old brake fluid and air bubbles coming out of your brake lines. Once all the air bubbles are gone, it’s safe to close your bleeder valve. Repeat the same process for each wheel and then top off your master cylinder reservoir.
Now that you’re confident that your brake fluid is changed and no air is caught in your brake lines, it’s time to put your wheels back on and lower your car safely to the ground. If you’ve purchased premium brake fluid and all the necessary auto parts on sale for this and other essential maintenance projects, you can confidently hit the road. Test out your vehicle’s brakes to ensure that they are responsive and ready to take on any challenge.
To read more on topics like this, check out the technology category.